'HOW
DO YOU BASE YOUR UNITS?'
While at shows, in between telling people that you can paint 6mm figures
without giving yourself a migraine and actually engaging in financial
transactions, I seem to spend a lot of time explaining how to base 6mm
units. This has led me to do two things:
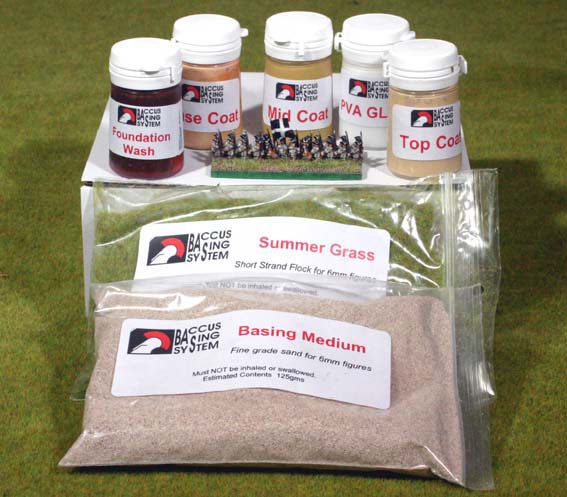
1. Release the Baccus Basing System

2. Write this section so that anyone who wants to can, 'Base it like Baccus'.
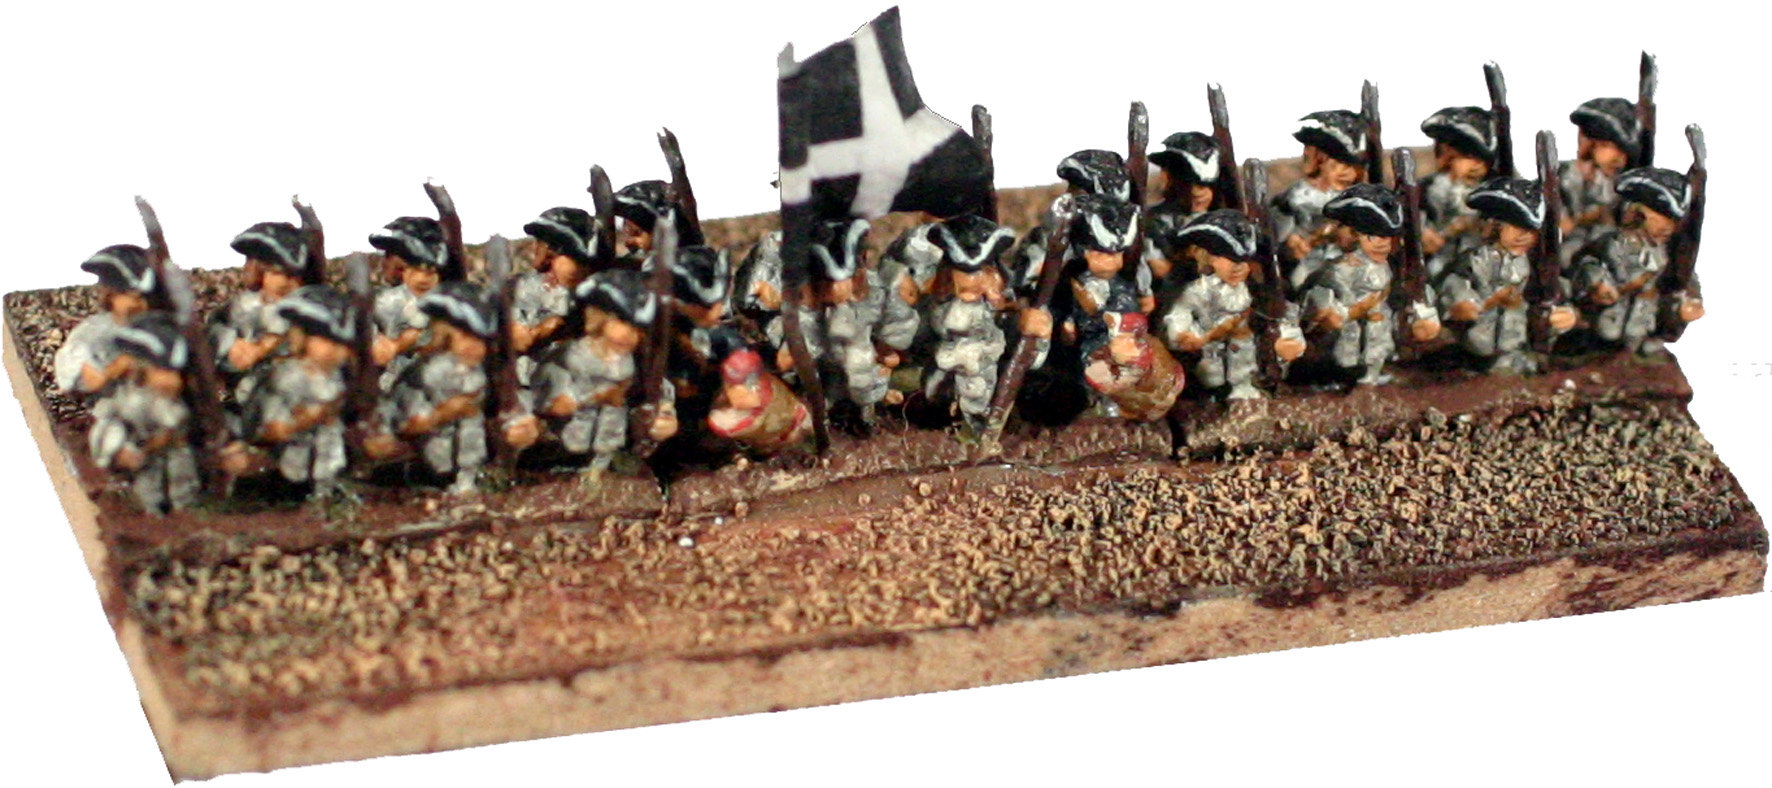
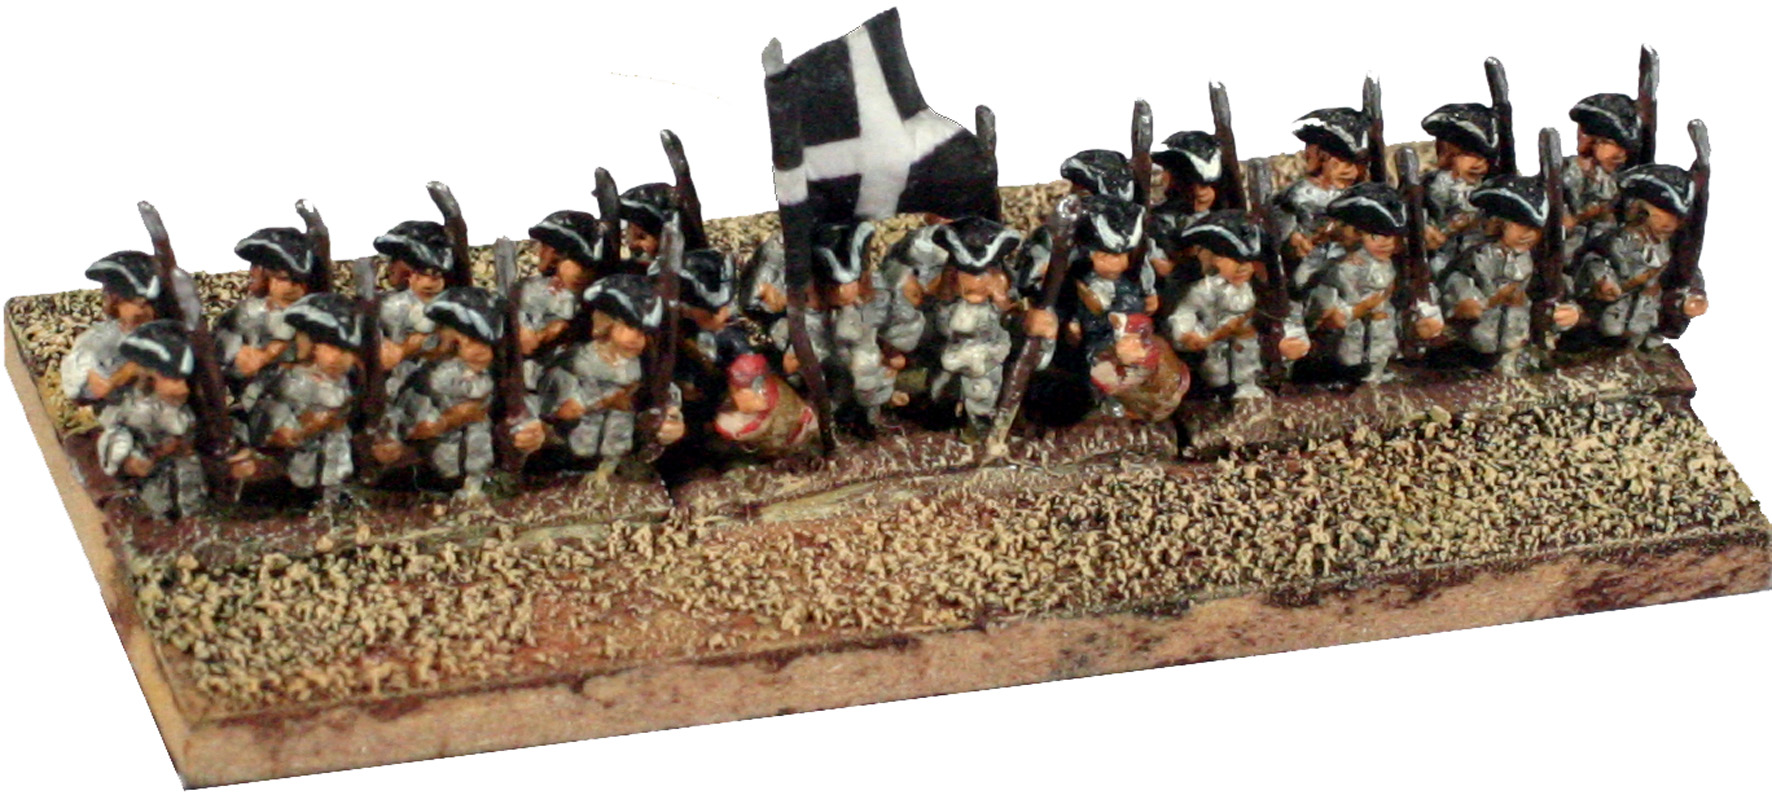
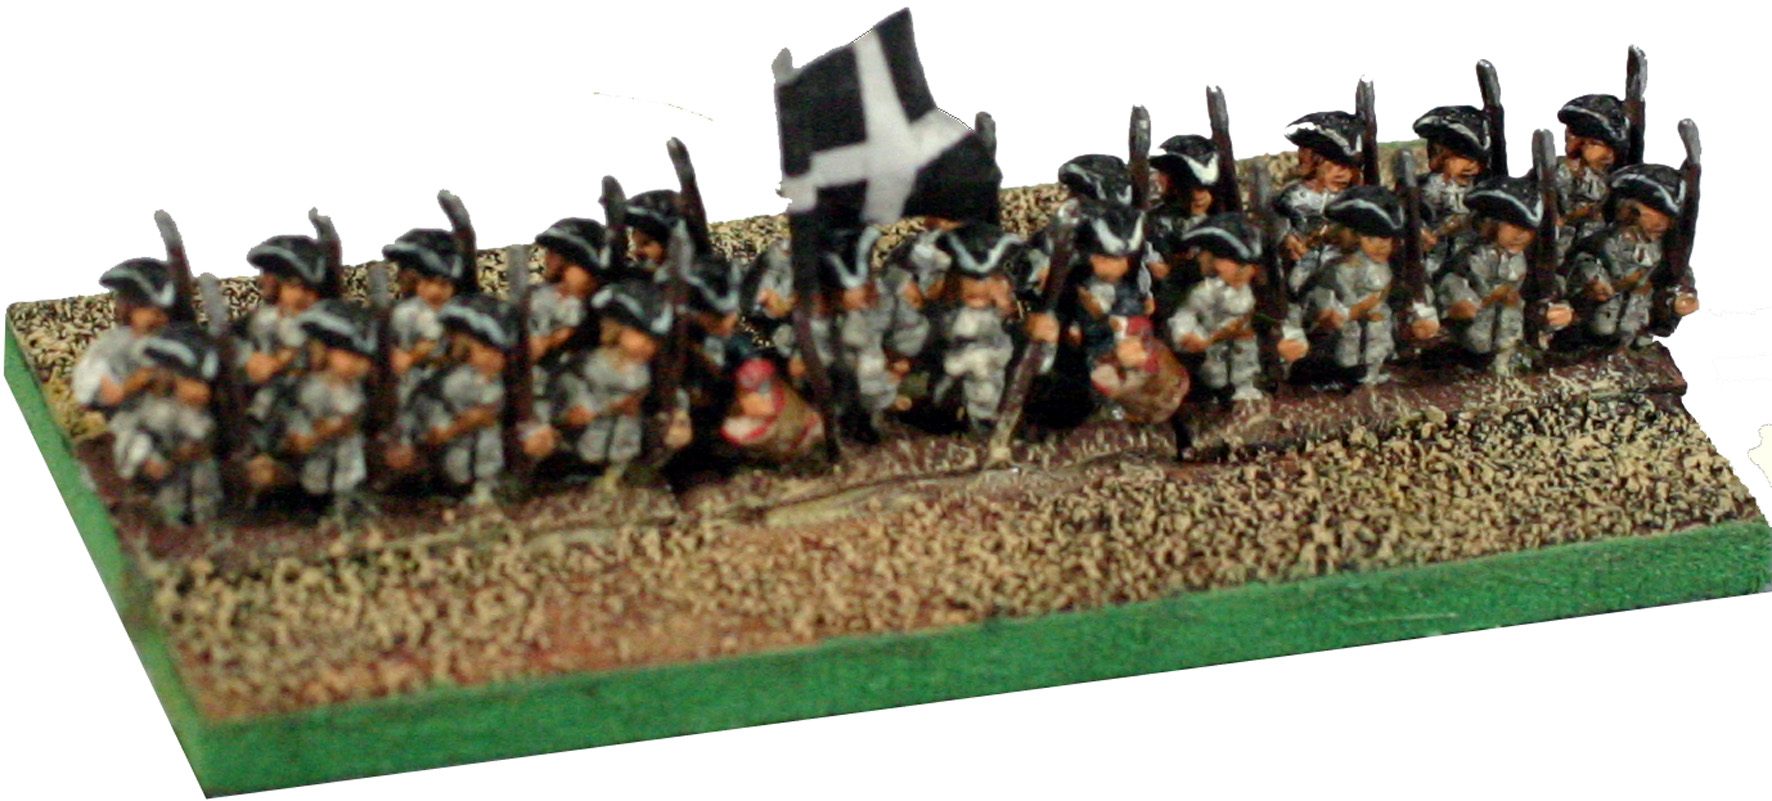
How you base your wargames army will have a really powerful impact on the end result. Make a really nice job on the bases and an average or indifferently painted set of figures will attract positive comments from all and sundry. Botch it up, or ignore the process and the nicest painted figures in the world will look poor. I'd go as far as saying that in 6mm the basing is as important as the painting. Luckily for all concerned getting high quality basing effects is simple, quick and well within the capabilities of all.
I'll be using material from The Baccus Basing System throughout this guide. Blatant and rampant commercialism, I know, but there is a good reason for doing so. The basing sand has been chosen because it is very, very fine and works with 6mm figures. You can can use the coarser stuff commonly sprayed over 28mm figure bases, but your little men will be bounding over boulders. Likewise, the flock we use has very short strand length. The stuff you can get from model shops and wargames stalls tends to be for larger figures and will drown 6mm castings. These things matter in terms of the final result.
Preparing the base
The first step, naturally is to attach your figures to the base. I suggest
that you paint the metal bases on the figures a dark brown, rather than
green. There is no need to add any filler at this stage. The sand and
flock used in this method will cover the ‘step effect’ of
the strips.
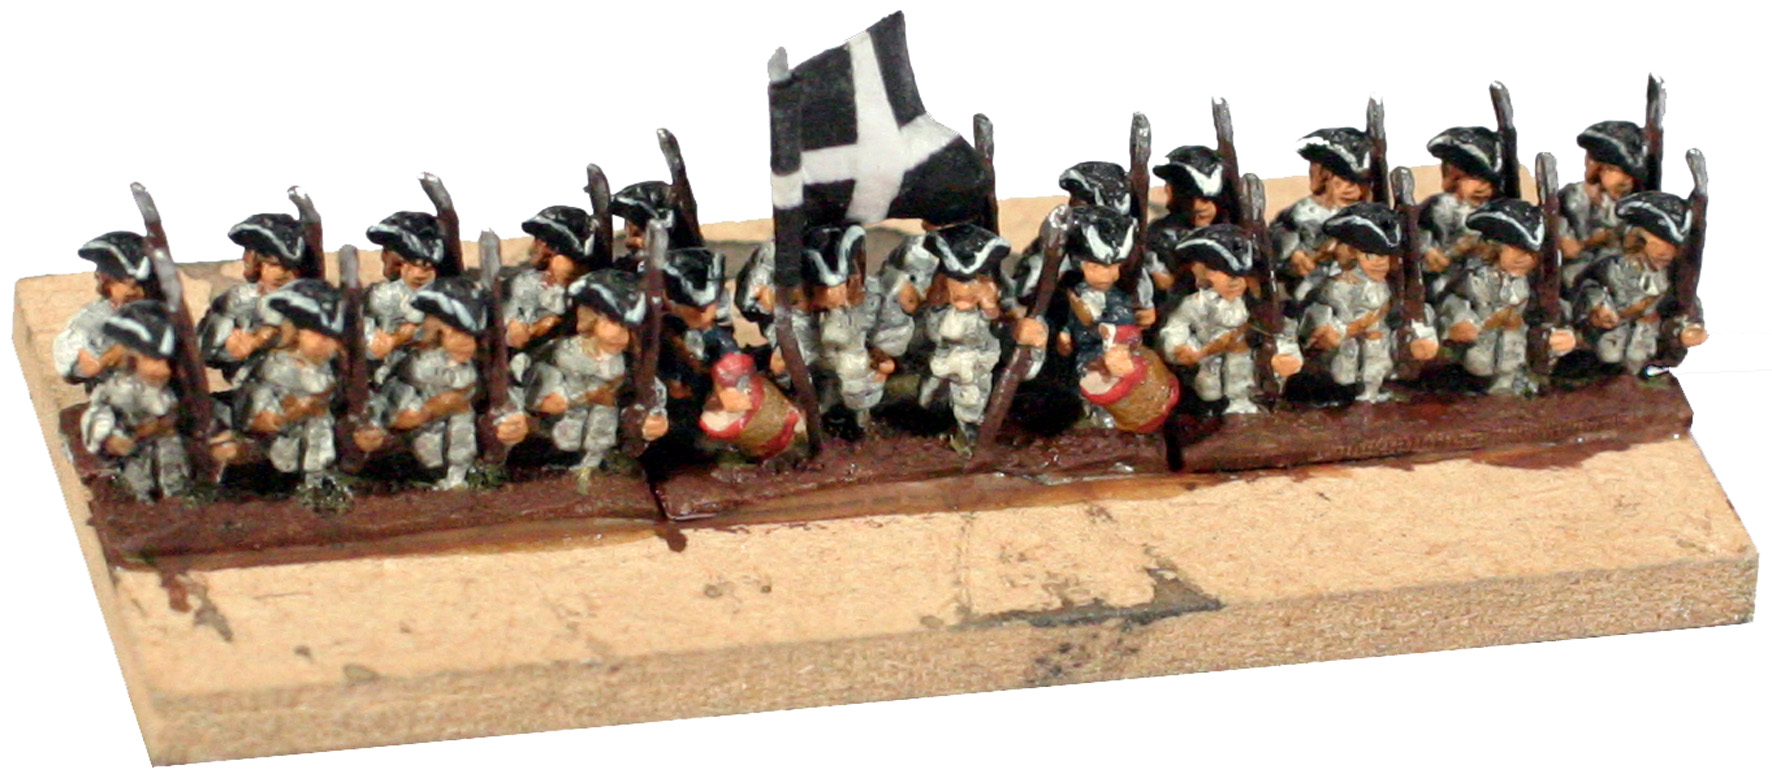
Once they are firmly in place, cover the whole base with PVA glue and then sprinkle the fine grade sand over the glue. Shake off any surplus and put to one side to dry. Try and ensure that the sand goes right up the edges of the figure strips.

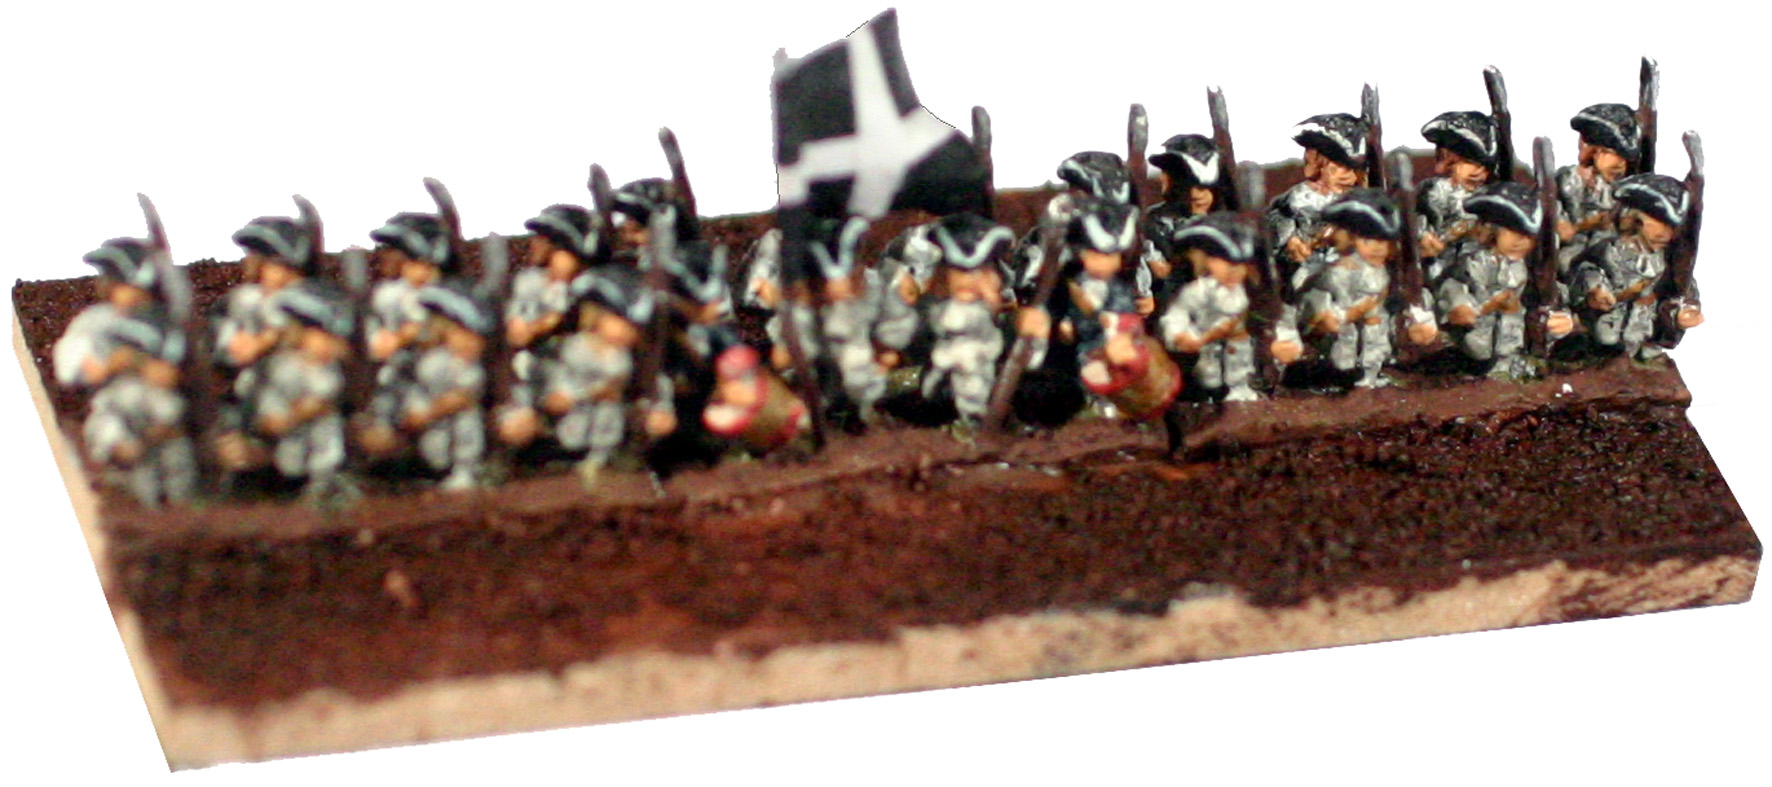
The Foundation Wash
The next four stages in this process are designed to give colour and depth
to the texture of your base. Reading it may make the process seem long
winded – in practice it is actually very quick, with no more than
a few seconds required for each base at each drybrush stage.
Once the sand is dry, use a size 3 or 4 brush to paint the sand with the brown Foundation Wash colour. This will seep into the sand and provide a good strong foundation colour for the subsequent drybrushed coats. Put the base to one side for a few minutes to let it dry. .
Adding the top colours
When the foundation wash has completely dried you can start the next stage.
Once again you can use a size 3 or 4 brush, although for more intricate
jobs you may need to use a smaller equivalent. The technique to use now
is called Drybrushing. If you’ve not used it before it may take
a couple of attempts to get familiar with it, but it is a relatively straightforward
process.
Give the paint pot labelled Base Coat a good shake to ensure that the contents are well mixed. Place a small amount of the paint on your pallet. Using a medium sized brush (size 2 or 3), get some paint on the bristles and then lightly brush a piece of absorbent kitchen roll. This will have the effect of drawing out the moisture from the paint.Very lightly brush the sanded areas on the base. The aim is to catch the surface and projections of the texture rather than add a dense layer of paint. The end result should be a mottled surface with the dark brown of the Foundation Wash showing through (Picture 4).This drybrushed covering will very quickly be dry and ready for the next step.
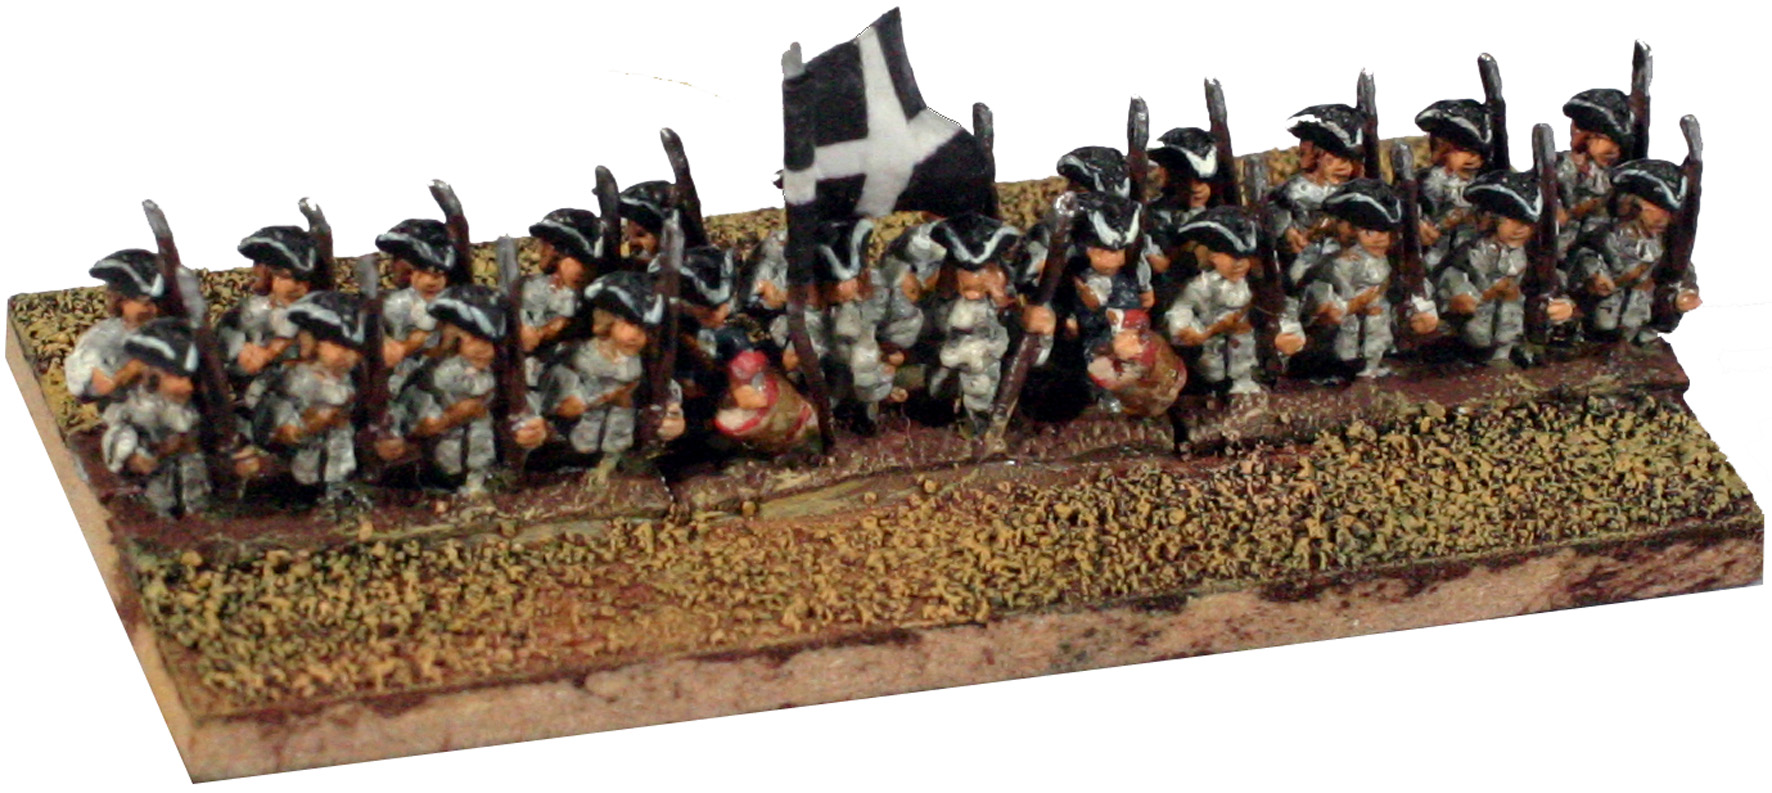
Move on to the paint labelled Mid Coat and repeat the process trying to use a lighter pressure than with the previous layer.
Finally, add a light drybrush in similar fashion using the Top
Coat.
The end result should give you a layered effect with a pleasing textured finish.
Before moving on, it is essential to remember to paint
the edges of the base. The colour is up to you, with most people opting
for the base coat or green. Whatever you decide upon, it will make the
end result look neat and completed.
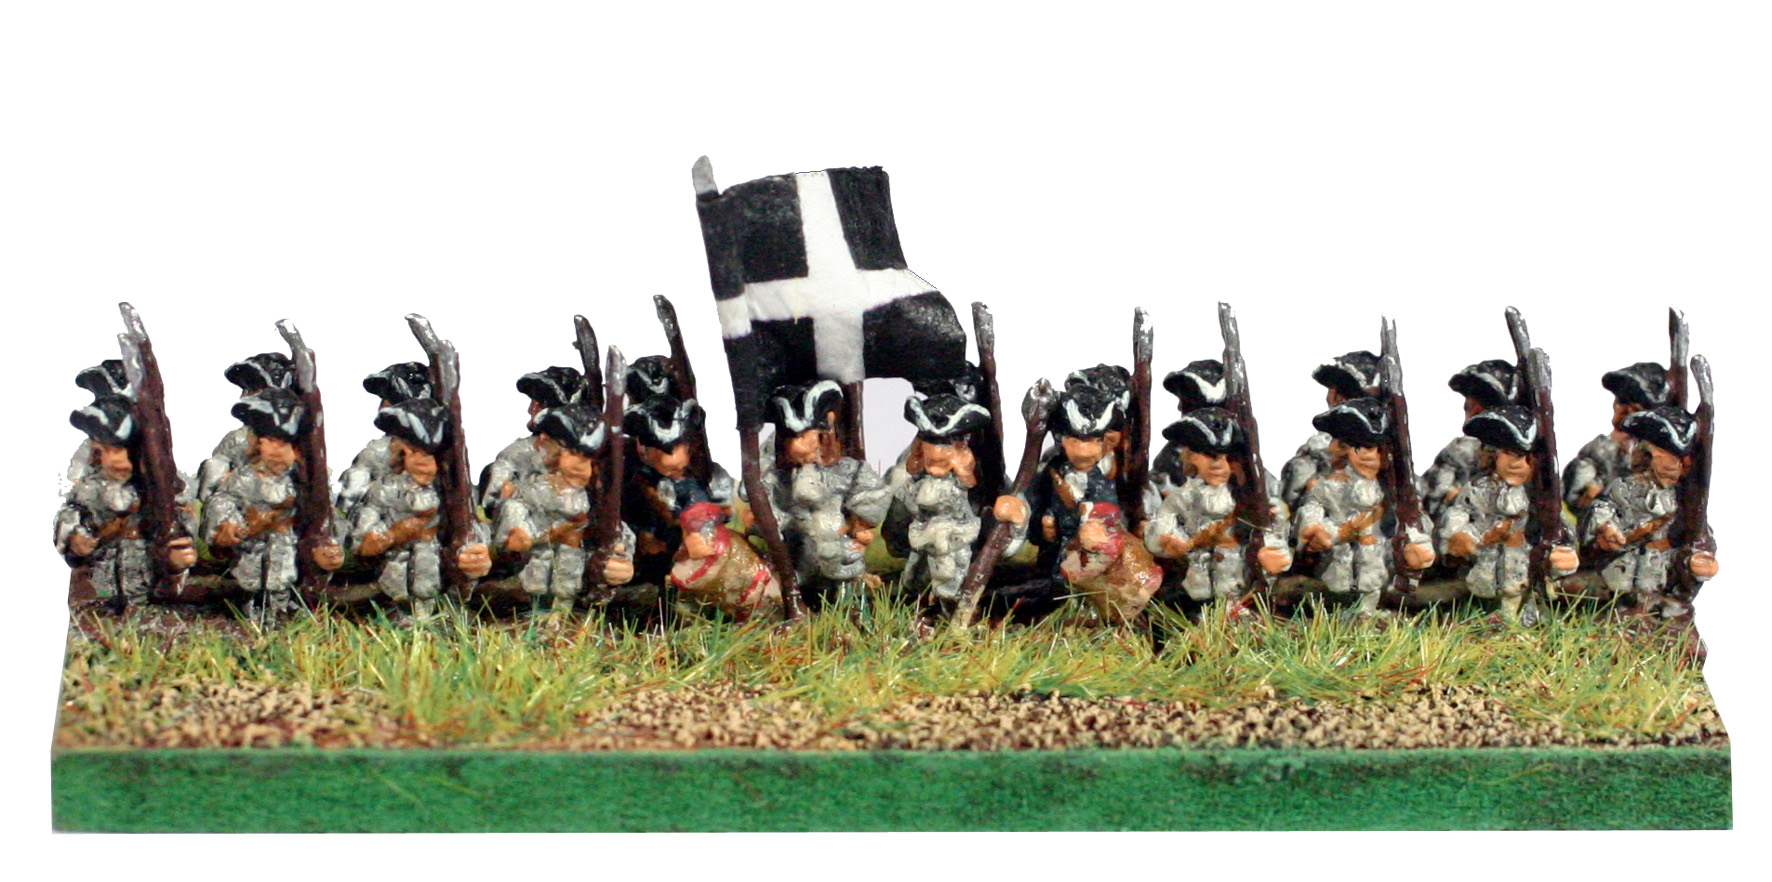
Finishing the Base
This process will brighten up and provide a rich finish to the drybrushed
base. Use a brush to add watered down PVA glue, (a 50/50 mix works well),
to those areas of the base that will need a grass effect. As a rule of
thumb ensure that all the areas around the figures’ bases themselves
are covered with the static grass. How much of the base is covered in
this way and you can get very different appearances depending on how dense
your static grass coverage is. It is worth experimenting to get the result
that you want.
Once you have brushed on the glue, cover the base with
static grass, then gently invert the base over a piece of paper or a tray
and gently tap it. The excess strands will fall off and you can put the
completed base to one side to dry.

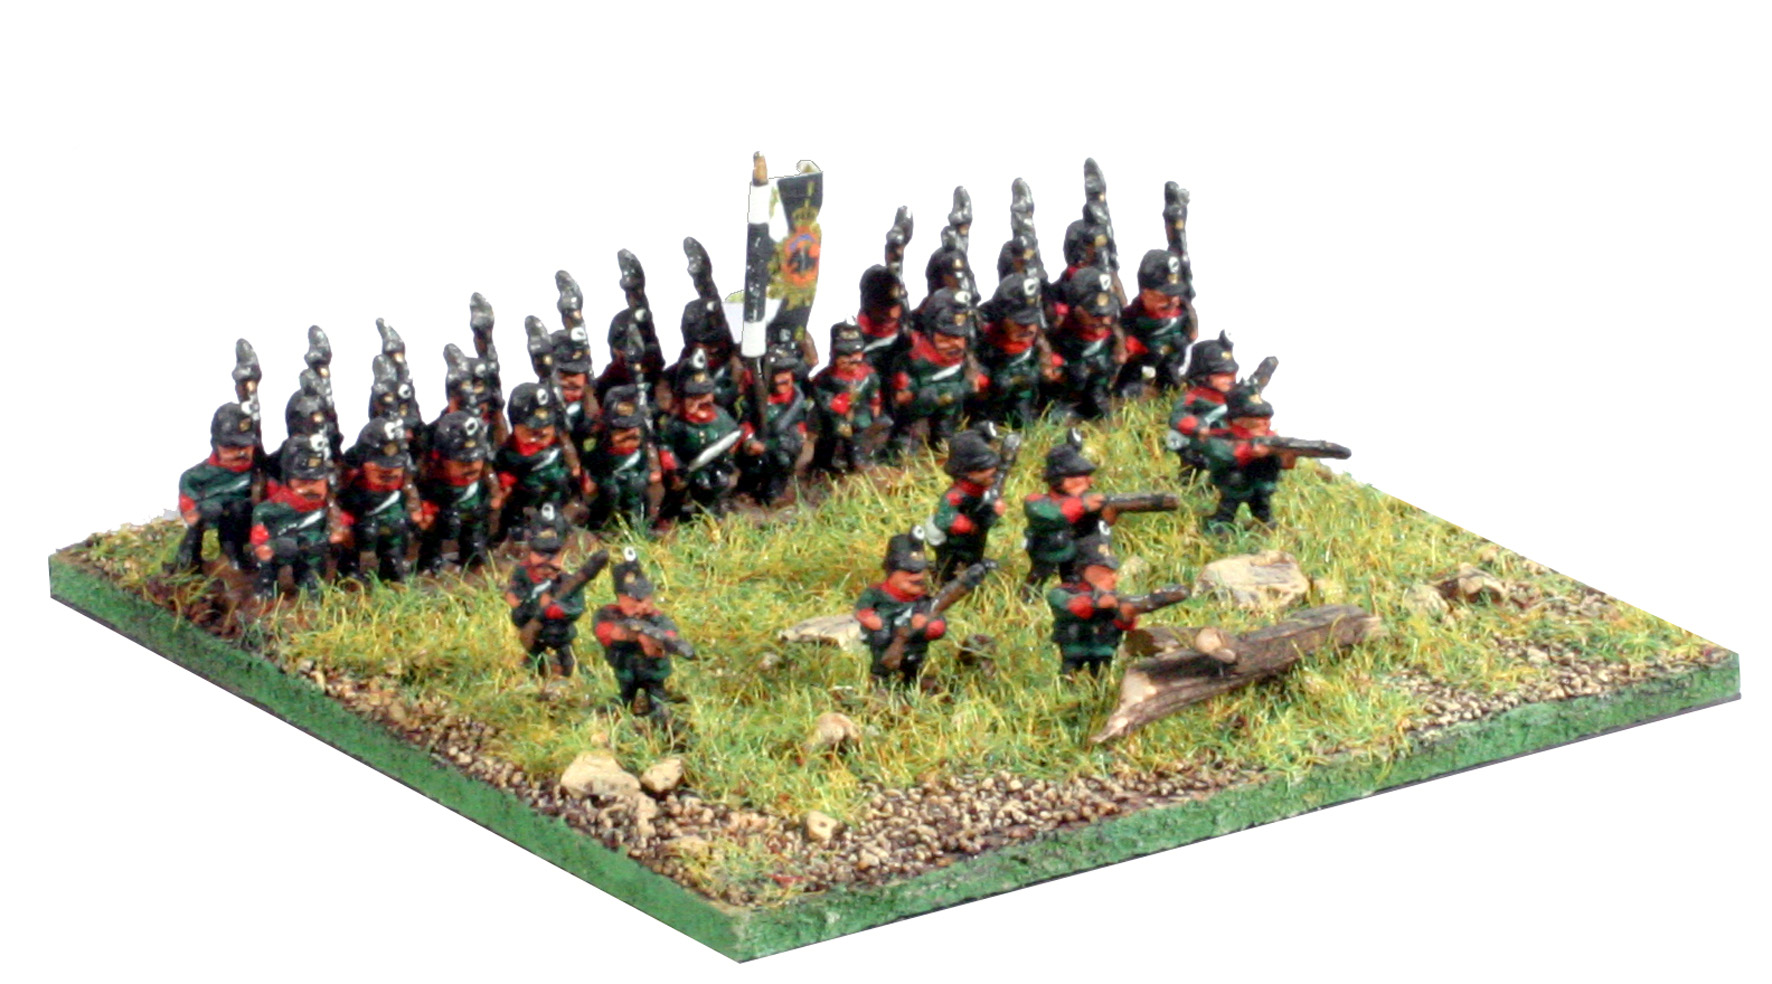
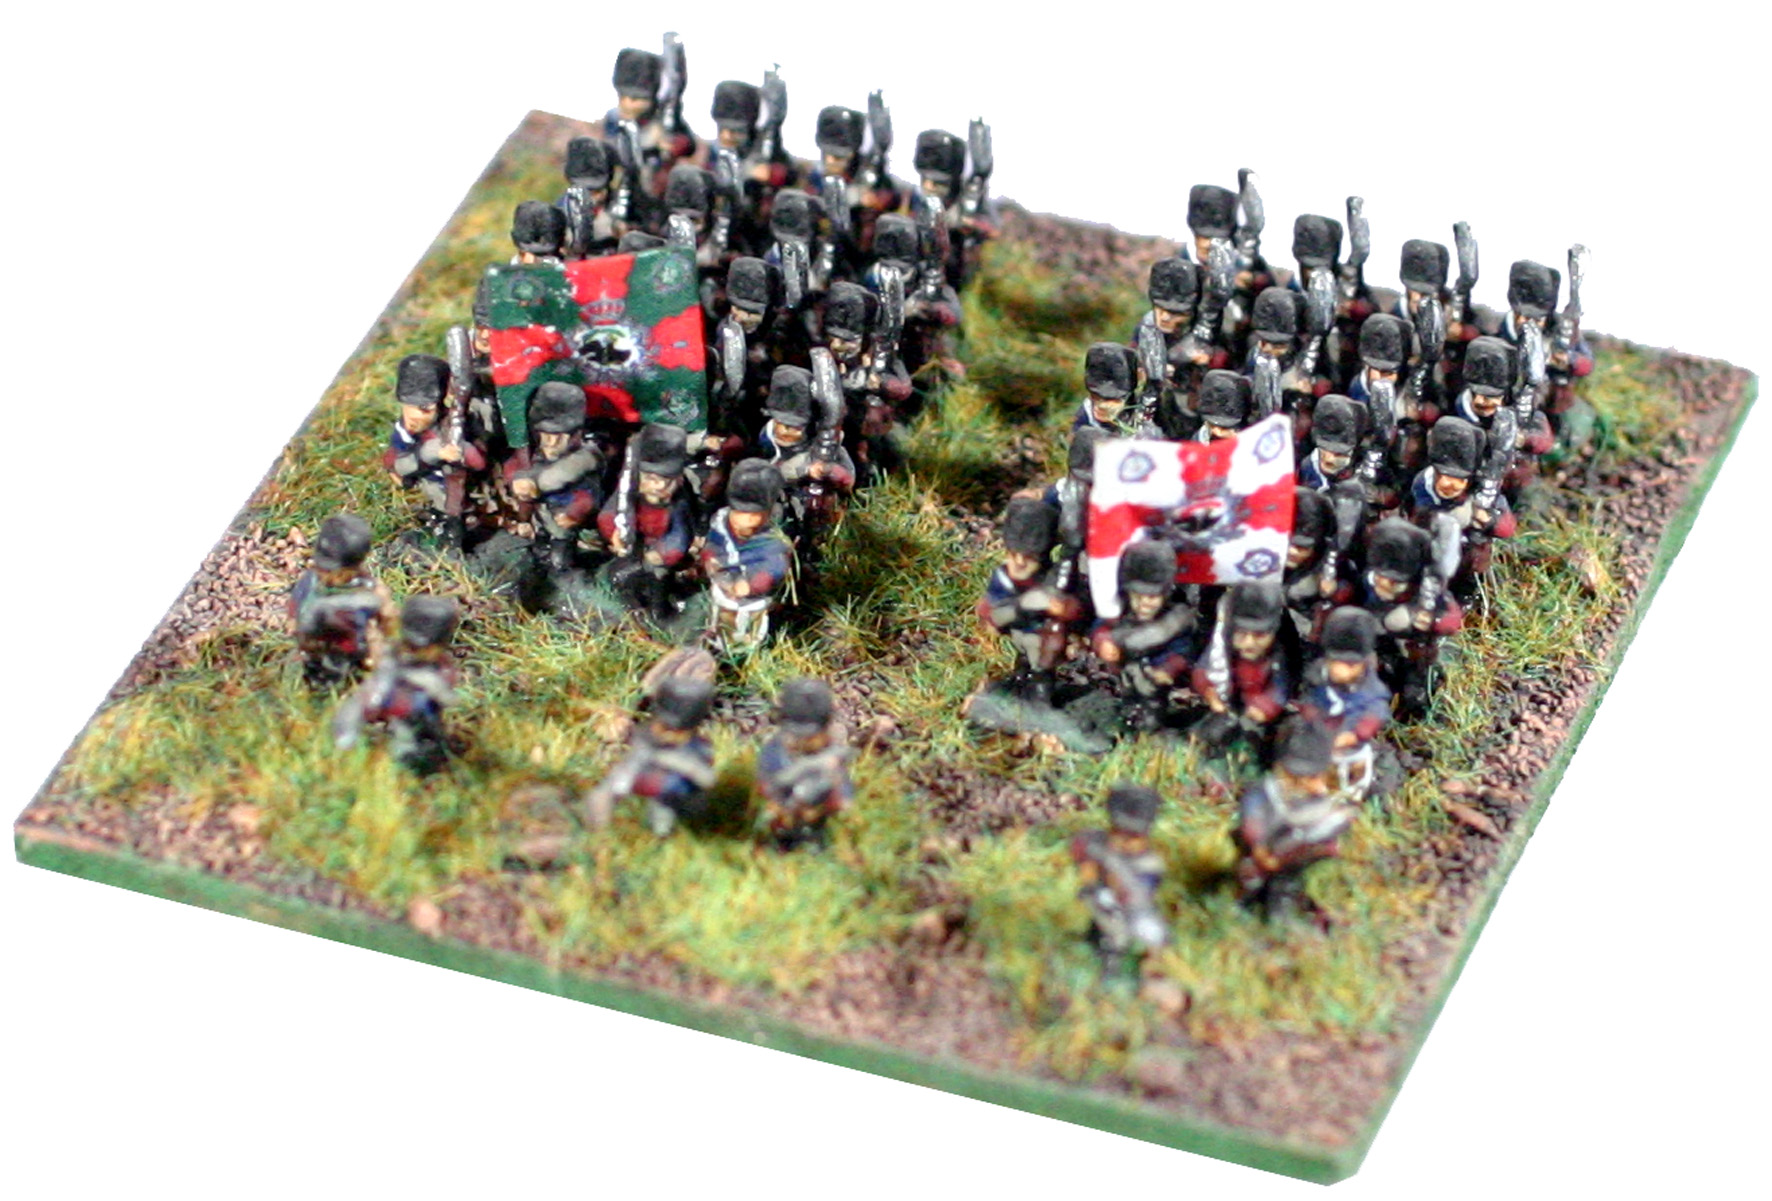
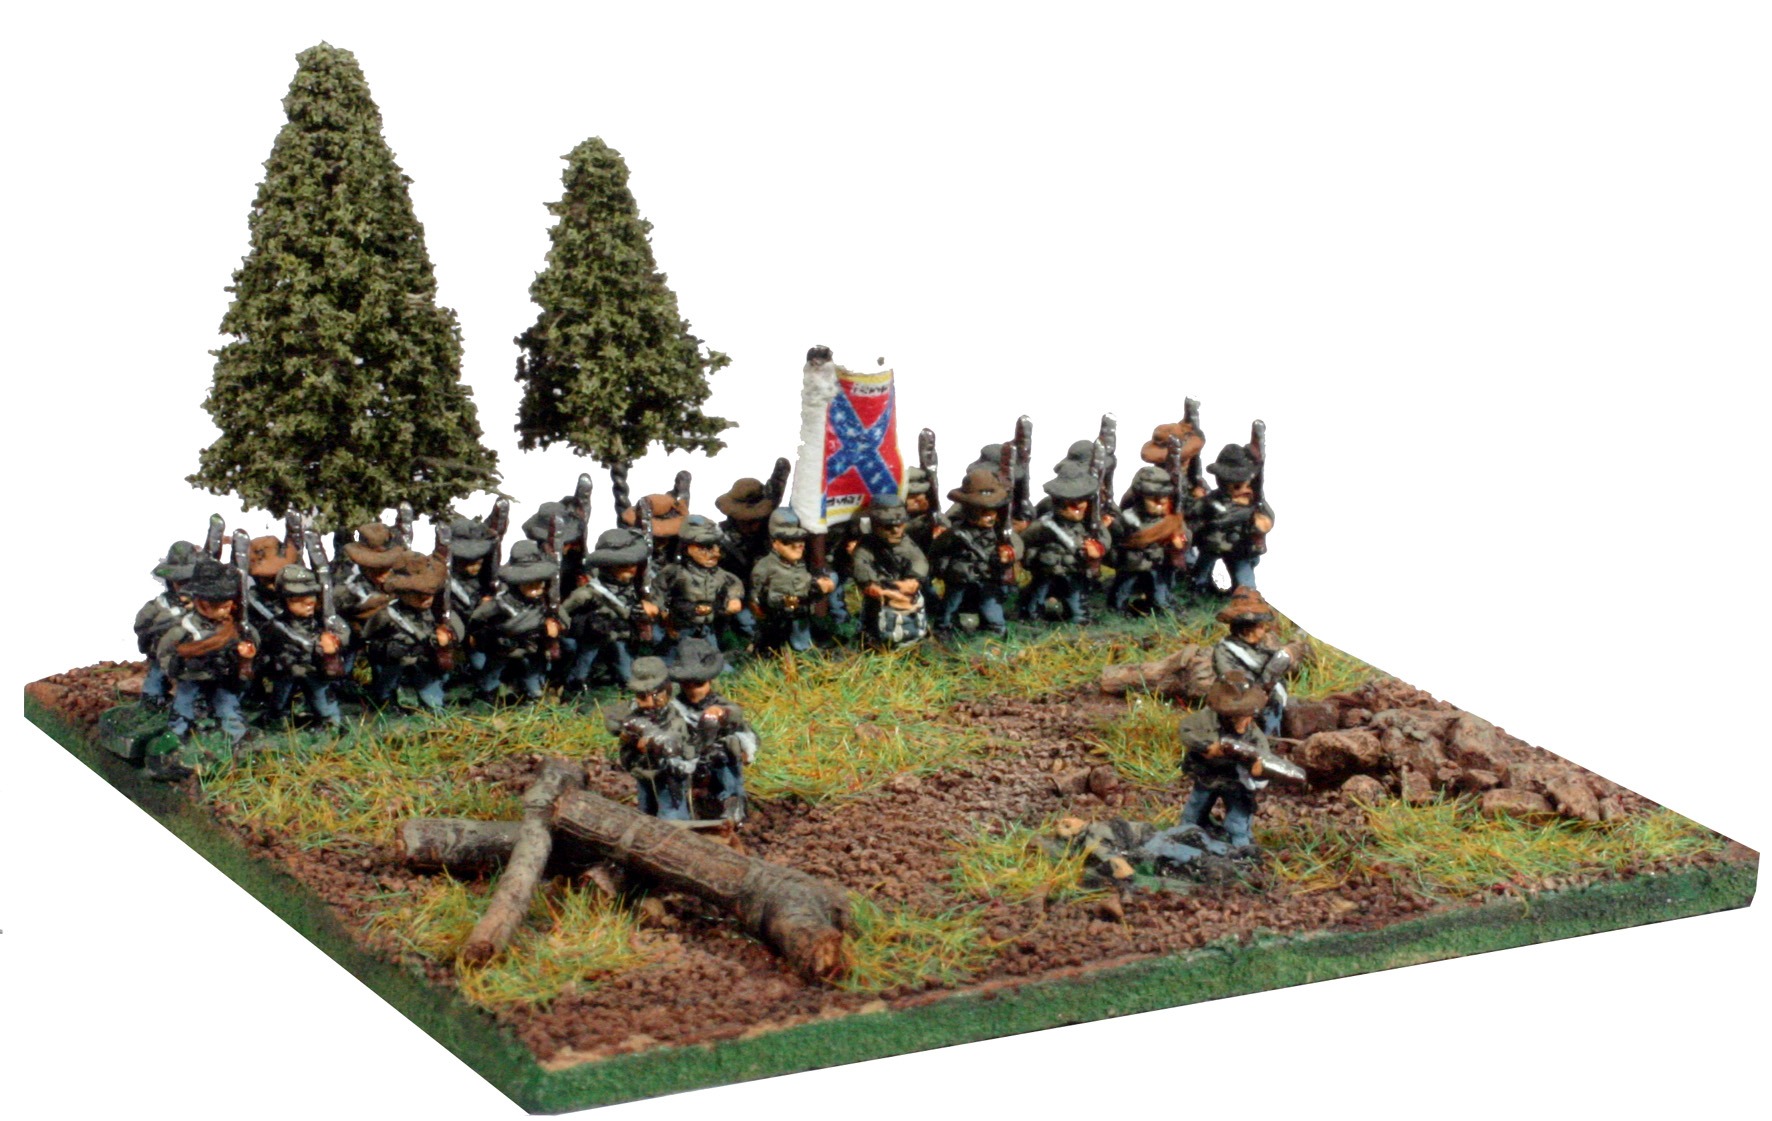
And there you have it - one beautifully finished base ready to use.
Finishing touches
Although bases completed using this system will look great, you can always
take it one stage further by adding extras to your bases, such as model
trees, small stones, scale walls or fences or even wagons or carts. With
a little imagination and simple techniques you can turn each base into
its own mini-diorama.
Happy Basing!
Peter