


| TOPIC: Napoleonic GDD rules clarification questions |
 Standard User Posts: 19  Napoleonic GDD rules clarification questions Napoleonic GDD rules clarification questionsandreasgum 28th Mar 2016 12:16:09 Hi everyone! So I just picked up some baccus 6 mm napoleonics and tried one game. After an unsolved battle I now have several questions I was hoping someone more experienced in the GDD rules could help me answer.
#1 Is it possible to attack an enemy directly diagonally positioned in close combat from you? We ended up with a situationed looking like this, where O is my own troops, and E is enemy troops, after O charged and won close combat against E1, making E1 retreat:
O E2 E1
This happened because we assumed that only E1 would retreat after losing, instead of both E1 and E2 retreating. The rules state that charges can only be delcared straight forward.
I assume this means that my enemy must ignore the attack phase and wheel E2 just to get into position. But this means I can escape on my next turn by marching forward towards E1, making his wheeling action with E2 irrelevant because I am once again out of his line of sight when it comes to charging straight ahead. Is there a way to continue close combat between O and E2 as they are?
#2 In the example image on p. 15 it says â€Unit B fire at Unit X. Unit A supports giving +2. Unit Y supports Unit X and absorb some fire. Unit X therefore gets +1 to their factorâ€. Why does the attacking side get +2 and the defender +1 when the example explains supporters? They are at the same range, so should both sides get either +2 if the distance is short, or both sides +1 if the distance is long? Is it a typo or am I missing something?
#3 On p. 15 in the Procedure list of + and - it says Veteran troops give +1. Is that for every Veteran base, meaning +3 for 3 bases, or just +1 total if any one base is Veteran?
Like if A B C fire at X Y Z, and A and B are Veterans but C is not, do they get +2 or +1?
A B C
X Y Z
And in the same fashion, what if they are Raw which gives -2. Does every base with the Raw station give -2?
#4 Is it possible to divide the movement of your troops in the case of wheeling, or is that considered separate Orders? An infantry base can move 2 BW for example. That’s 4 BDs. For wheeling it says â€one unit may move up to a full move forwardâ€. Can I then use 1 BD to move forward, 1 BW wheel, then 1BD forward again which would be 1 Order? Or must I use 1 Order to move forward, 1 Order to wheel, and 1 last Order to move foward again.
#5 Can units move more than once, by paying more Orders? Or are you limited to 2BW per turn even if you have Orders left once all units have shot and moved?
In the same fashion, are you allowed to fire with one unit more than once per turn?
#6 In the Results tables on p. 16 and 17, if it says â€Defender shaken, may fireâ€, do I add the shaken level before I use the Procedure on p. 14 so that the â€each shaken level -1†is used when looking at the Outcome of Firing Results?
#7 Can artillery use the bombardment rules only if they are standing alone, or is it possible when they are attatched to another unit in its brigade?
#8 What does Leger mean in the Experience and SK rating in the Army Generator? Does it give a bonus? I found it in the French 1812 army for example.
#9a On p. 17 there is an image showing an attack example, where support is given as well. This shows only X and B firing, with A, Y and Z giving support. What if X and Y had been next to each other in a line, and artillery Z was on the right. How would firing be then?
A B
Y X Z
I assume X would fire at B, and Y at A, but my friend and I were unclear if this meant that Y could still assist X in the firing phase, and X assist Y when that base fired. Z would obviously assist X no matter what.
#9b In a similar situation where infantry A, B and C are lined up against infantry X and Y and Y is supported by artillery Z, and X and Y charge together with Z, what would happen? Me and my friend had the following situation, which made is wonder if we did things corectly:
First we did Testing to Attack. We got â€Defender may act as ordered†there, and we moved on to the defenders firing on the charging X and Y bases. Since we assumed that combat is rolled for each base able to fight (X and Y separately), rather than the whole brigade (X + Y + Z as a whole), B rolled against X and won the Outcome of Firing Results making X retreat in the Outcome of infantry v infantry attacks on p. 17. C lost to Y because Y had Z’s artillery support, and fled.
Before charge:
A___B___C________ defensive line
X Y Z
During charge results roll:
A___B___C_________ defensive line
After charge:
C A___B______________ defensive line X
In this situation it’s important to know if the charges are declared and the bases moved in before any combat rolls are made, or if each unit makes its combat separately first, and we were unsure how to interpret the rules.
In our fight we also wondered if the companies supported each other, despite charging separate enemy bases.? If the attacker must charge with only Y first, X could not assist. Z would still assist Y. But the defender would get a lot of support if so.
If X had charged first, B would be supported by 2 units, A and C, and X would be alone. Then when Y charged, supported by Z, would C get support from B, or would B be occupied with X’s charge?
Or should X Y and Z move in at the same time where A and B fight X, while Y and Z fight C? If X still win against A and B and triggers a retreat, do both A and B retreat, or only B?
I hope I made my conundrum clear and that someone can help me out.
Thanks in advance! "I have resolved never to start an unjust war, but never to end a legitimate one except by defeating my enemies." |
 Standard User Posts: 499  Napoleonic GDD rules clarification questions Napoleonic GDD rules clarification questionsWhirlwind 28th Mar 2016 02:18:08 Hi, I'll have a go, in case Chris is a while looking on here. Hopefully I have understood all your examples correctly. So: Number 1. Was E2 supporting E1? If so, it does retire (Chris has clarified this on the Yahoo group). If it wasn't, then there must be another friendly unit adjacent to O able to attack E2 itself anyway. Number 2. Only the firing side gets the +2 for close range, the defender gets +1 for receiving support from adjacent friendly unit at the same range. Remember the fire is one way - it isn't an exchange of fire. (Incidentally, the rules say "adjacent" but I presume that this is supposed to mean "adjacent to a flank", otherwise units to the rear could fire too, which seems unlikely) Number 3. Firing is done by base. So in your example there will be 3 separate dice rolls. A and B will each get +1, C won't. Number 4. No, it is just a normal movement order (i.e. one movement order will let you do your example move) Number 5. Chris has clarified before on the Yahoo group: "You cannot spend extra points to move more than once". Number 6. Yes. Number 7. I don't see why not.If it bombards though, it cannot support in the same turn. Number 8. "Legèr" is French for Light. It means "Light Infantry" unit. This just indicates the uniform of the unit, it is the SK level which indicates how many/ how good they are at skirmishing. Number 9. Can't support each other: "An adjacent friendly infantry unit which does not have a target of its own..." (p.15) and "Friendly unit...with no enemy base within 1BW of their front" (p.19) Number 9b. p.10 Turn Sequence, no.4 "Player...moves all units lauching attacks into contact, then completes all close combat attacks...", so problem doesn't arise: move all the units into contact first, and then work out - attacker chooses which order to carry out the attacks. So in your example, the smart attack will almost always be Y on C. Y will be supported by Z, C only gets 1 secure flank bonus. If you do it with X, B gets A as support, plus two secure flanks. I hope this helps All the best John
|
Notice: Due to issues with the processing of VAT on deliveries to the EU a limit has been put in place, restricting orders to a maximum of £135. We apologise for any inconvenience this causes.
> Forums
Reply
1
> Rules > Polemos Rules > Napoleonic GDD rules clarification questions1
NEWS
JOS26 - Gone, but not forgotten...11th Jul 2026
It's That Most Wonderful Time of the Year!
26th Jun 2026
Coming to Joy of Six 2026...
20th Jun 2026
New for JOS26
12th Jun 2026
Joy of Six 2026 Floorplan
6th Jun 2026
LATEST FORUM POSTS
WWII Italians by peter13th Jul 2026
Egyptian Chariots by Glorfindel
12th Jul 2026
Age of Hannibal, Army Lists by Glorfindel
12th Jul 2026
JOS26 - Gone, but not forgotten... by ChrisBBB
12th Jul 2026
Dismounted Great War Cavalry by Frenchie
11th Jul 2026
UPCOMING SHOWS
Claymore (Telford College, Edinburgh)1st Aug 2026
Colours (Newbury Racecourse)
5th Sep 2026
LATEST RELEASES
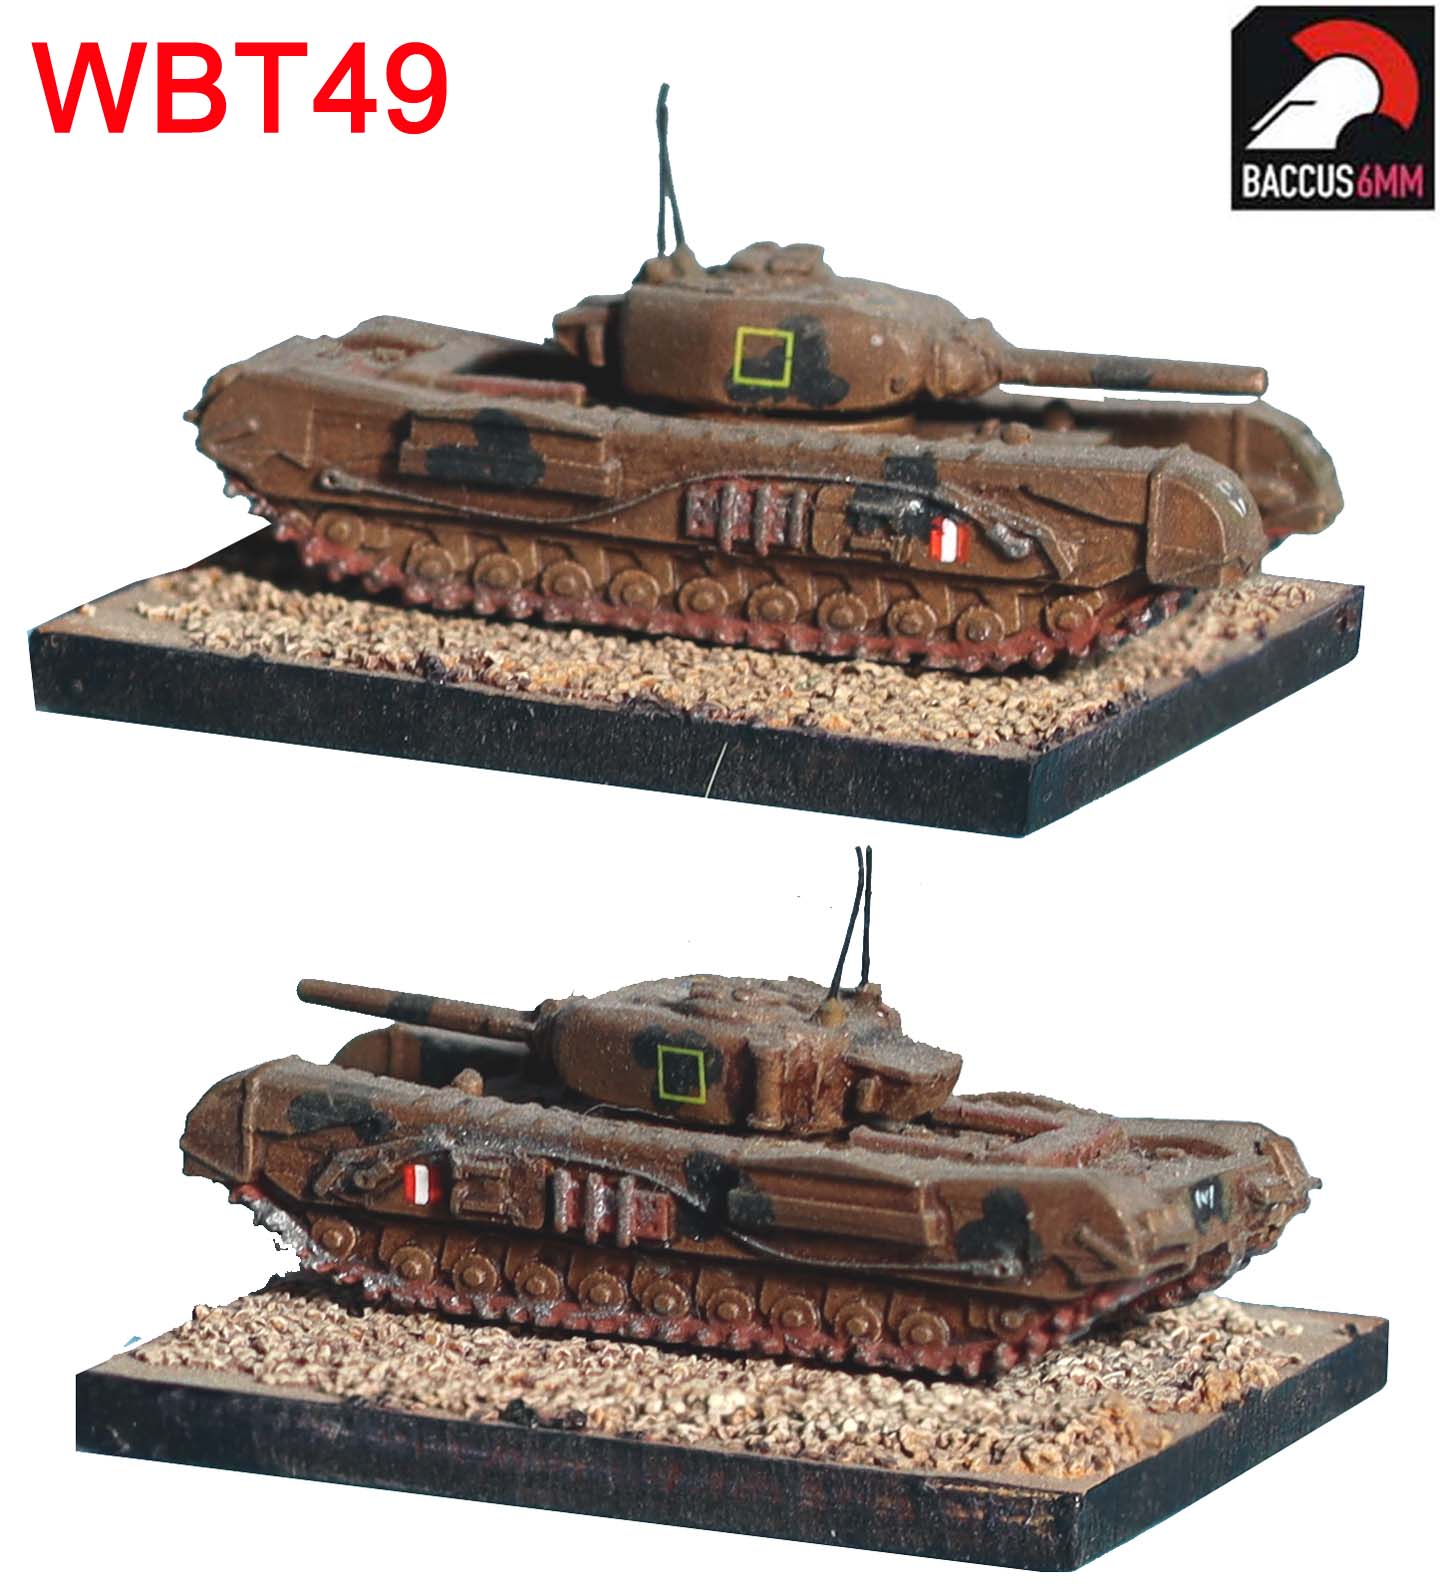 WBT49
WBT49Churchill NA75
 WGP88
WGP88JgPzVI Ferdinand
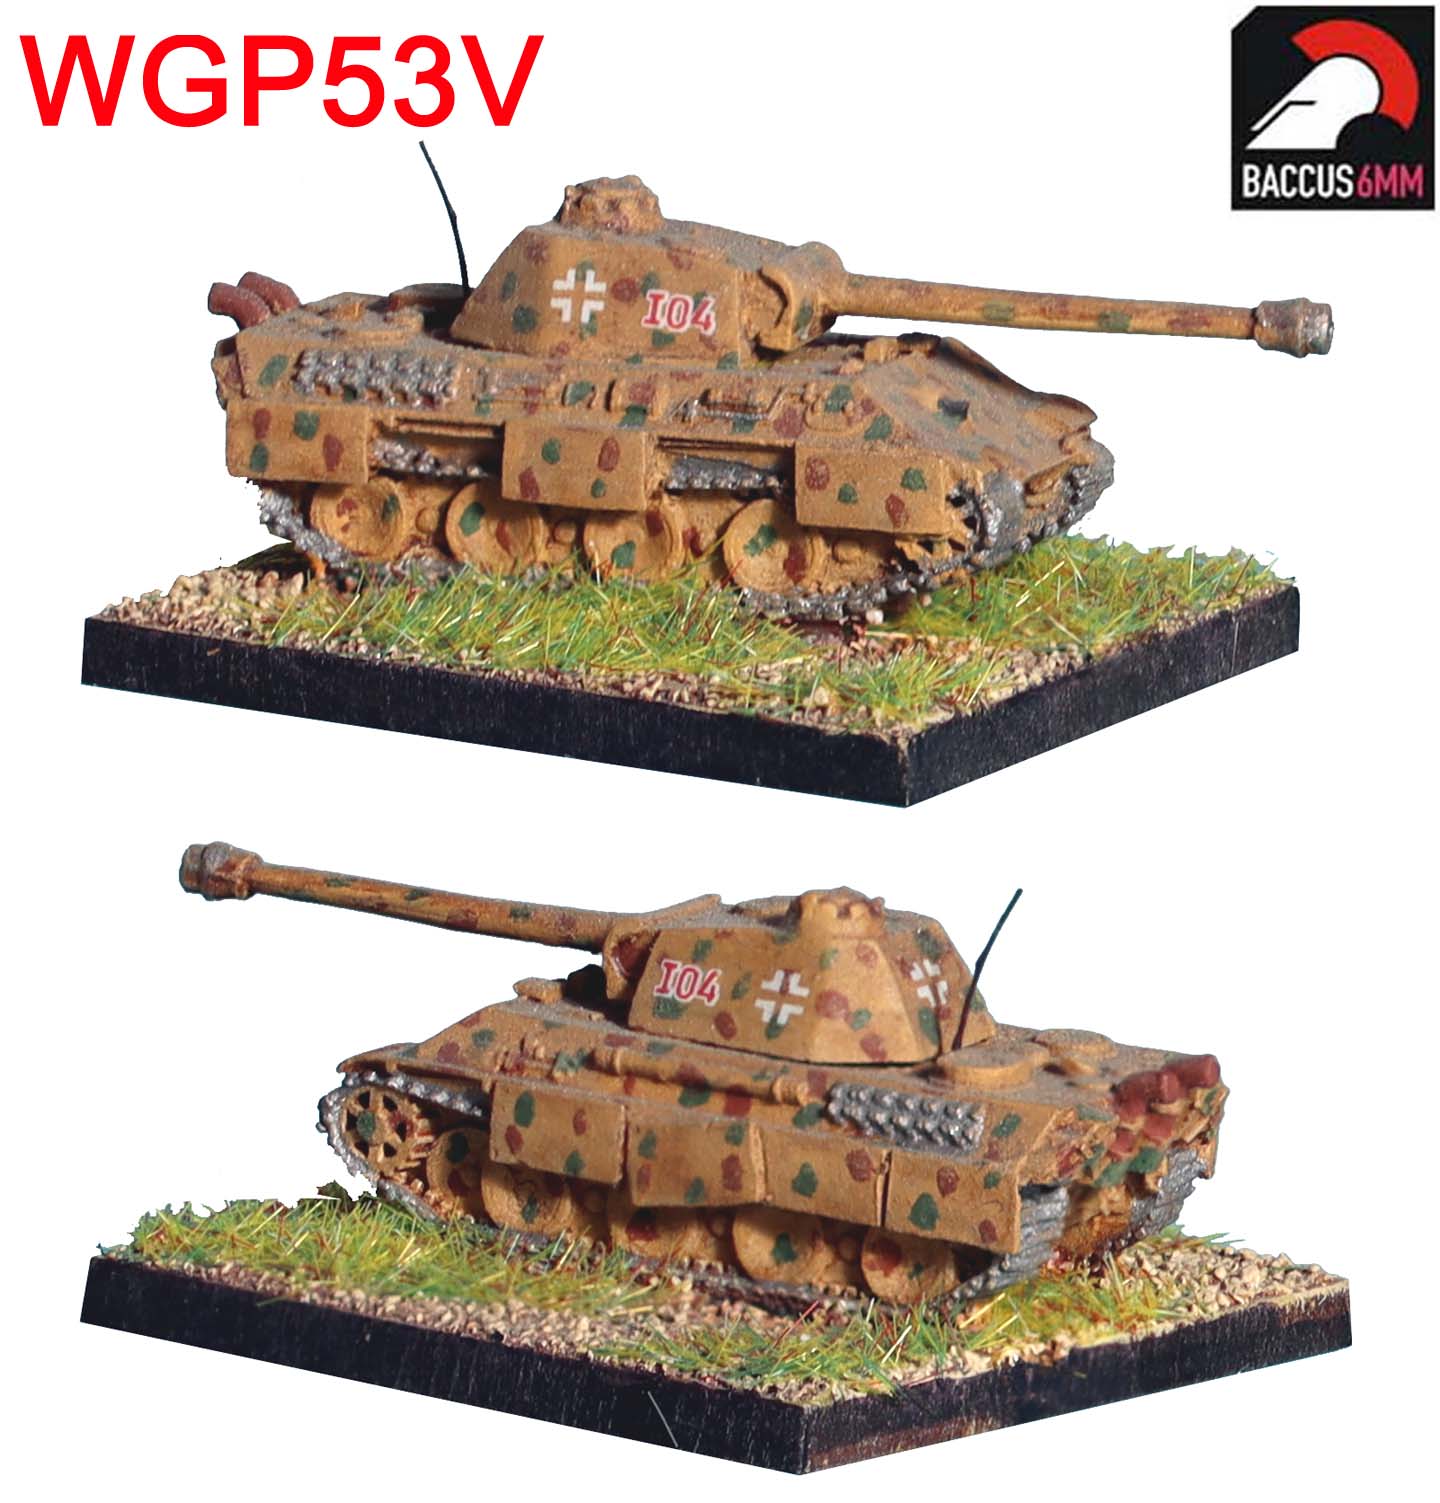 WGP53V
PzVG Panther veterans
 WGG06
WGG06sIG33 auf berge Hetzer
 WGG03
WGG03StuIG33 auf PzIII